 Making of a Ribbon trim
Passo passo della realizzazione
di una Decorazione con il nastro
Gosh its not as easy as it looks to photograph what you do, so I apologise if the photos aren't brilliant, I will write step by step as we go along though and hopefully that will make it a bit clearer, if not I'm sorry and you'll just have to ask me instead.
Pic 1 / Foto 1: To begin with you need 3 lengths of ribbon, usually I estimate about 2 metre lengths for a small hanging pillow so in total it would be 6 metres if you were doing it in all the same colour ribbon, make sure they are all seperate lengths. Next fasten the 3 lengths of ribbon to the bottom point (in this case is the heart point), I usually slip stitch this together.
Per cominciare avete bisogno di 3 pezzi di nastro, generalmente calcolo circa 2 metri per un piccolo cuscinetto d'appendere quindi in totale devono essere 6 metri se volete fare tutto con lo stesso colore, purché siano separati in 3 pezzi. Quindi attaccate i 3 pezzi di nastro nel punto più basso del cuscinetto, in questo caso nella punta inferiore del cuore; generalmente io uso il punto "slip stitch" per unirli.
Pic 2 / Foto 2: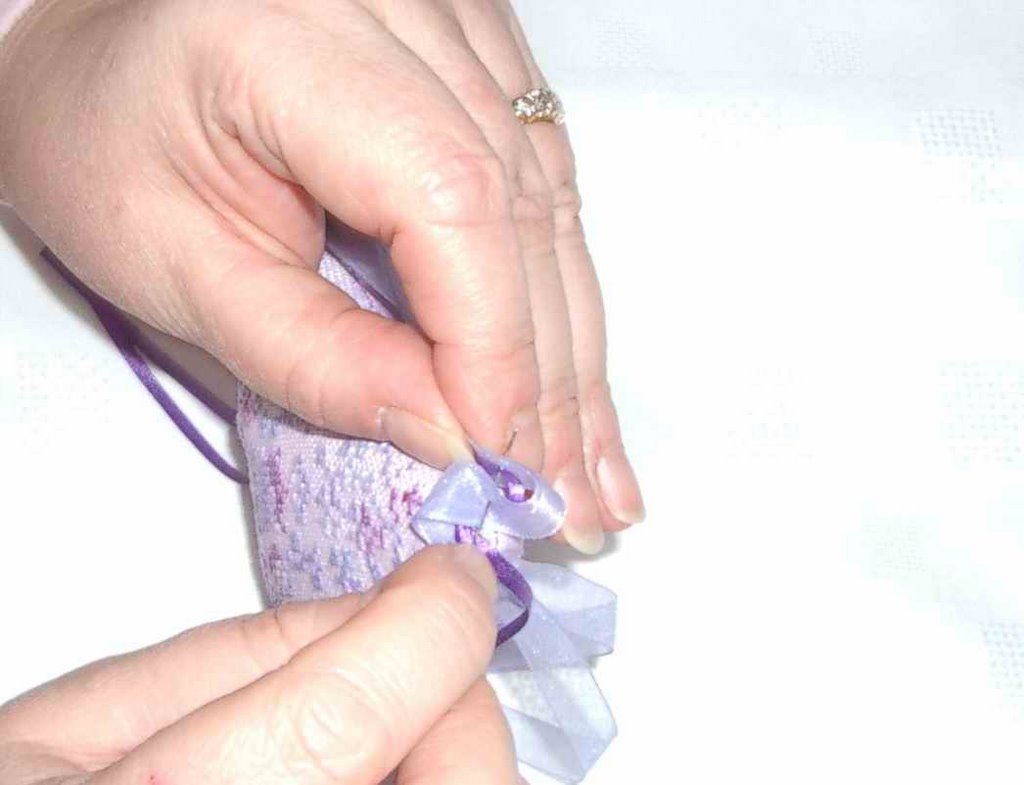 Now here I catch the ribbons with the needle and cotton pushing the needle through all the ribbon thickness.
A questo punto fate passare l'ago attraverso l'intero spessore dei
nastri sovrapposti.
Pic 3 / Foto 3: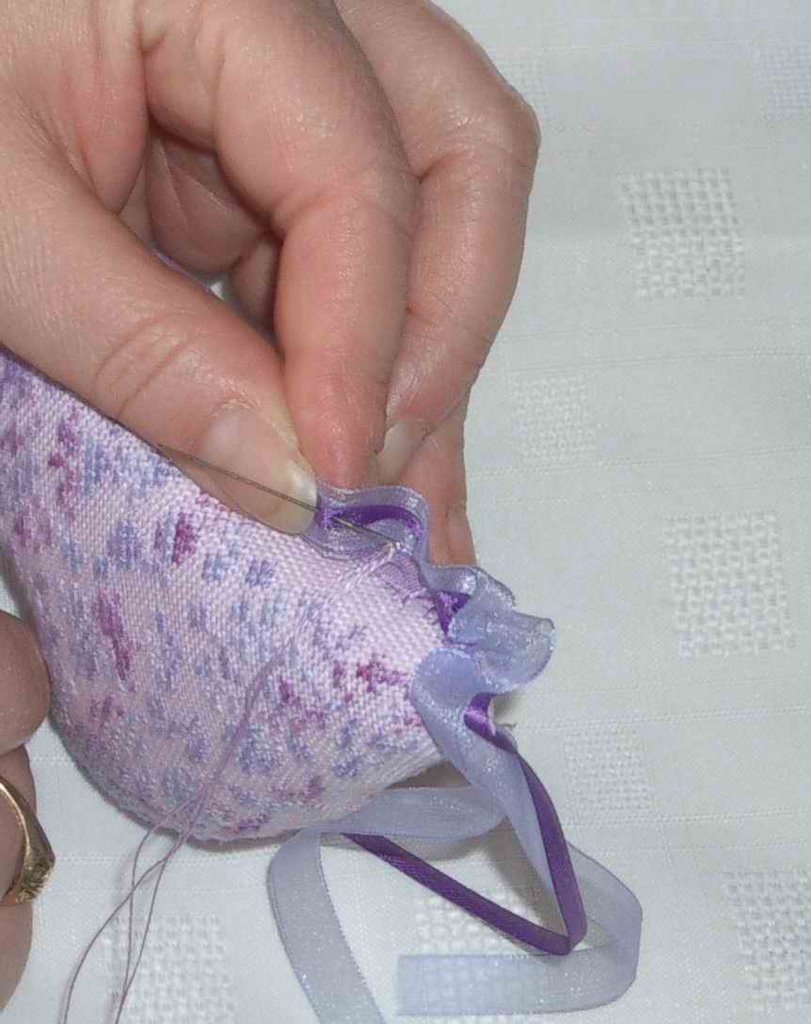 Then pull the thread towards you so that the ribbon ruches.
Ora tirate il filo verso di voi in modo da arricciare il nastro.
Pic 4-8 / Foto 4-8: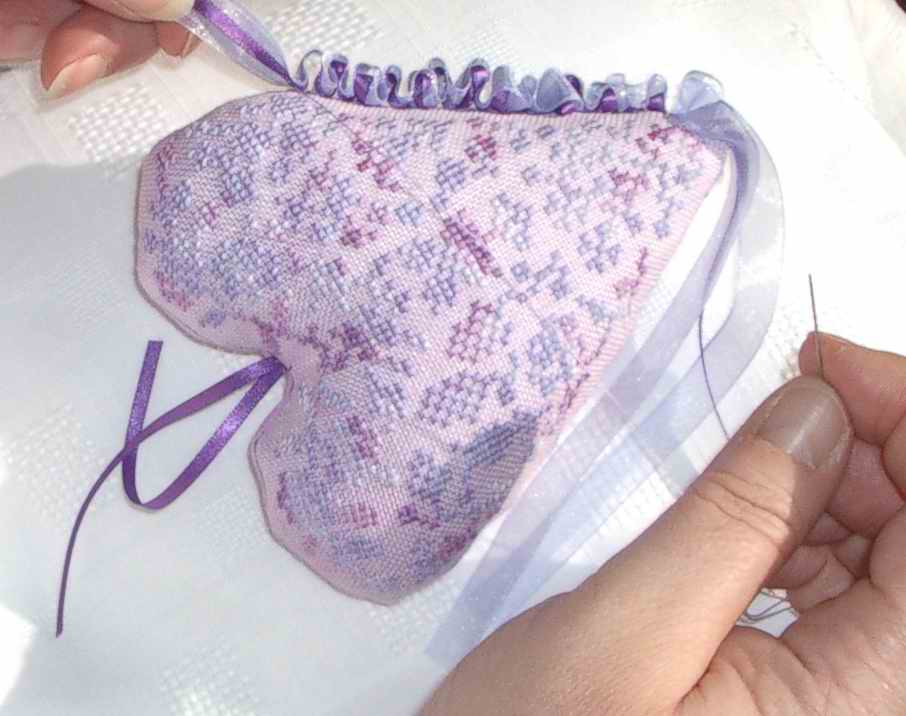 Then catch the fabric through the seams with you needle this is about 1/4 inch intervals as I go along, then catch the ribbon again, this is usually about 1 inch intervals along the ribbon or however far or close you prefer the size of the ruches.
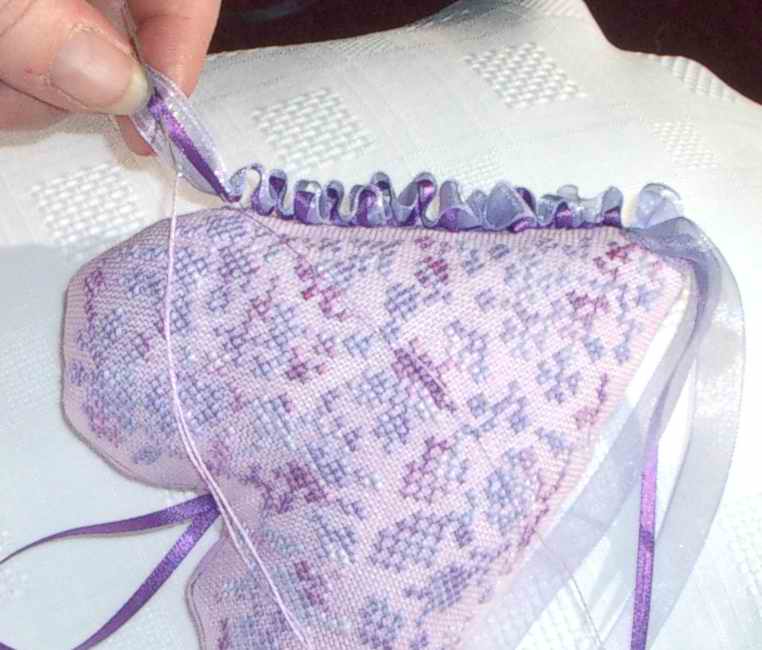 Continuate infilando nella stoffa lungo la cucitura ad intervalli di
circa 6 mm. poi di nuovo passate attraverso i 3 nastri sovrapposti:
l'intervallo in questo caso dipende dall'arricciatura che volete: di
solito io li infilo ad intervalli di 2,5 cm. circa.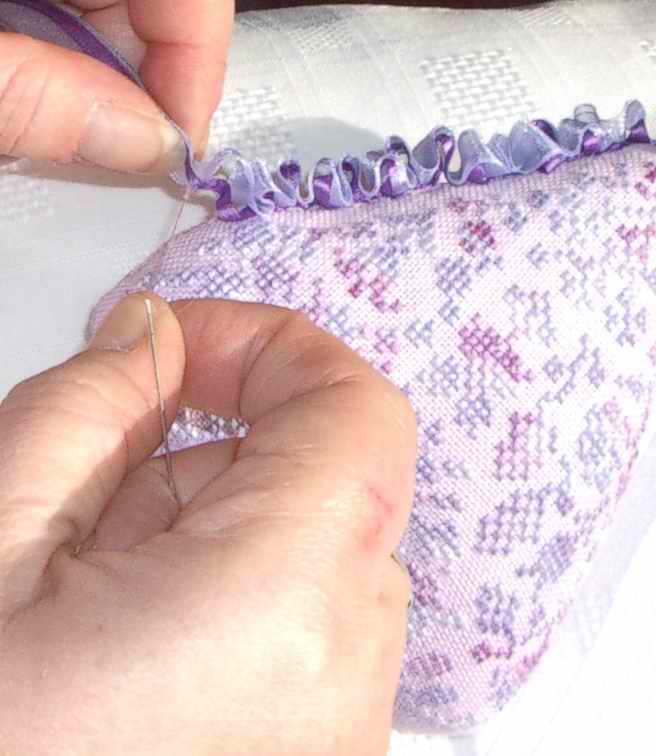 You do this all the way around your pillow until you get back to where you started I then catch the ribbons altogether and make a slight knot with them and fasten off, then trim the ribbons to length and you have the finished project.
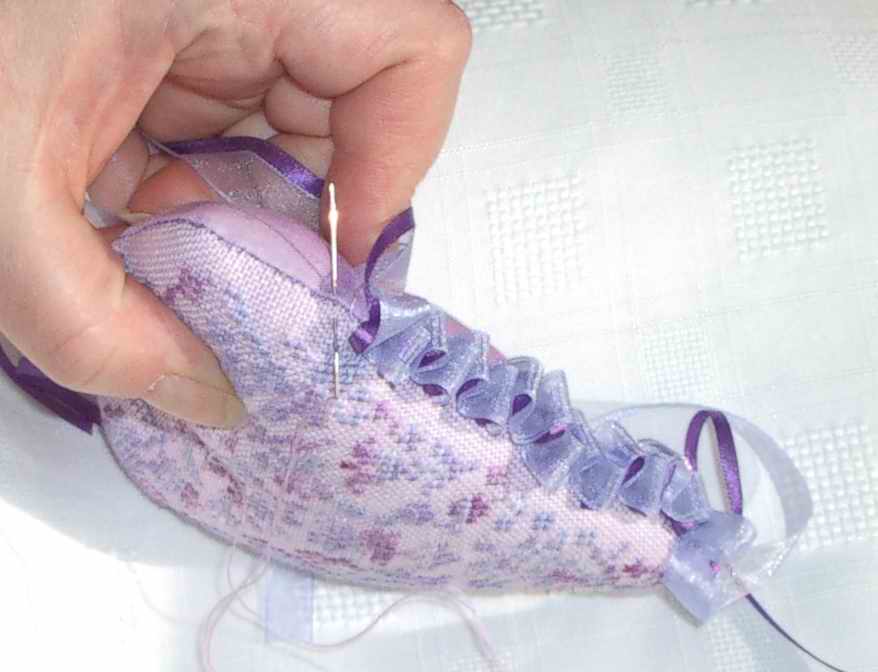 Procedete in questo modo lungo tutta la lunghezza del vostro
cuscinetto, fino a tornare al punto di partenza. A questo punto io di
solito io lego i nastri con un nodo leggero e li fisso. Regolate ora
la lunghezza dei nastri e il lavoro è terminato.
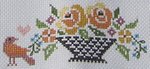
This particular project is for my MIL for Mothers Day, the heart is a freebie by Anne Les Petites Croix and the thread I used is Lasting Friendship by Dragonfloss, its a lovely varigated thread in soft lilacs and mauves, the fabric is 32ct Lively Lilac hand dyed by Kates Kloths.
Oroginal link: Ribbon trim
Wednesday, 13 June 2007
Ribbon Trim / Decorazione con il nastro
Subscribe to:
Post Comments (Atom)
3 comments:
Hi Su, welcome to our Marvellous Basket,your instructions are very clear!thank you Maria Ben
ma che bellissimi tutorial!!grazie ragazze!!!siete preziose!!!grazieee!!!
bellissimo questo cuore....il colore poi è uno dei miei preferiti è stato bello vedere come si realizza un bordo così :) anche io ho fatto un blog da poco se ti va vai a dargli un'occhiata io principalmente faccio patchwork,cucito creativo e country painting ciao Valentina
Post a Comment